Yoga Foam Roller: How to Choose One and Use It Well

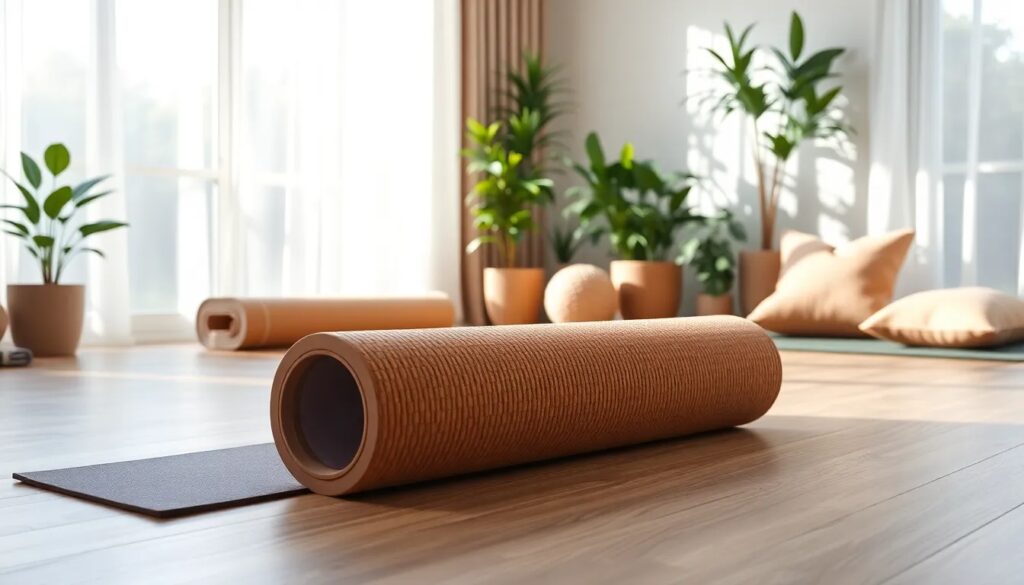
A foam roller is a firm foam cylinder used for self-massage — you place a muscle group on the roller and roll slowly across it under your own body weight. For yoga practitioners it fills a specific gap: it loosens dense, tight tissue (calves, quads, upper back) that stretching alone reaches slowly, making it useful both as a pre-practice warm-up and a post-practice recovery tool. This guide covers what foam rolling realistically does, how the main roller types compare, how to choose one, and the six rolls most useful alongside a yoga practice.
What a Foam Roller Does (and Doesn't Do)
Foam rolling is usually described as self-myofascial release — applying pressure to muscle and the connective tissue around it. What the research reasonably supports: short-term increases in range of motion without the temporary strength loss that long static stretching can cause, and reduced muscle soreness in the day or two after hard exercise. What is less supported: claims about breaking up scar tissue, removing toxins, or permanently lengthening fascia. The honest summary is that rolling makes tissue feel looser and move better for a window of time — which is exactly when you want to practice or train.
Types of Foam Rollers Compared
| Type | Feel | Best for | Watch out for |
|---|---|---|---|
| Soft / low-density smooth | Gentle, forgiving | Beginners, sensitive tissue, relaxation | Cheap soft foam compresses and loses shape |
| High-density smooth (EPP foam) | Firm, even pressure | All-purpose daily use; the default choice | Can feel intense on day one — ease in |
| Textured / ridged | Targeted, intense | Experienced users wanting deeper spots | Easy to overdo; bruising is a real risk |
| Vibrating | Firm plus vibration | Recovery enthusiasts; tolerating deep pressure | Significantly more expensive than plain foam |
| Short / travel (12-inch) | Same as its density class | Calves, arms, suitcases | Too short to lie on lengthwise for back work |
If you are buying your first roller, a 36-inch high-density smooth roller is the safe default: long enough to lie on for upper-back work, firm enough to be effective, and inexpensive enough to replace once you know what you like.
As an Amazon Associate, we earn from qualifying purchases.


How to Choose: Three Decisions
- Firmness. Match it to your tolerance, not your ambition. If rolling makes you clench and hold your breath, the roller is too firm to relax against — and relaxing is the mechanism.
- Length. 36 inches for home use and back work; 12–18 inches if it must fit a bag or you only roll legs.
- Surface. Smooth distributes pressure evenly and is the right starting point. Texture adds intensity, not effectiveness — treat it as an upgrade for later, if ever.
A second roller in a smaller size makes sense only if you travel with one or want a softer density to alternate with a firm one for sensitive spots.

- High-density foam roller in Blue Speckled
- Ideal for balance, strengthening, and flexibility exercises
- Firm, durable polypropylene maintains shape; molded edges for added comfort
- Lightweight and easy to carry to class and to reposition during workouts
- Wipes clean easily
- Product Dimensions: 12 x 6 x 6 inches (LxWxH)

Six Foam Rolls That Pair Well With Yoga
- Calves. Sit with one calf on the roller, roll ankle to knee. Tight calves limit Downward Dog more than most people realize.
- Hamstrings. Roll from above the knee to just below the sit bone. Helpful preparation for forward folds — and worth knowing about if you have ever dealt with the hamstring-attachment overuse issue covered in our guide to yoga butt.
- Quads. Face down, thighs on the roller, roll hip to knee. Eases the front-body tightness that restricts lunges and backbends.
- Glutes and outer hips. Sit on the roller, lean to one side, cross that ankle over the opposite knee. Pairs naturally with the stretches in our yoga for hips guide.
- Upper back. Lie back with the roller across the shoulder blades, hands supporting your head, and roll slowly between mid-back and shoulders. Excellent before backbends and shoulder openers.
- Lats. Lie on one side with the roller under the armpit area and roll a few inches along the side ribs. Frees overhead arm reach for poses like Warrior I.
Technique rules that apply to all six: roll slowly (a few centimeters per second), spend extra breaths on tender spots without forcing them, keep breathing, and cap any single area at about one to two minutes.

- IMPROVE MUSCLE RECOVERY – Multi-density GRID features a three-dimensional surface that provides more efficient muscle recovery by promoting tissue aeration as you roll, while promoting the flow of blood and oxygen for optimal muscle recovery
- OPTIMIZED FOR COMFORT – Unique foam construction with proprietary Distrodensity Zones is perfect to use on both tight, sore muscles, as well as soft tissue, for a more effective recovery experience
- PERSONALIZED ROLLING EXPERIENCE – Multi-density GRID pattern of varying ridges and nodules replicate the feeling of a massage therapist's hands, allowing users to utilize different areas of the roller to target key body parts
- DEEP TISSUE MASSAGE – EVA-foam-wrapped, hollow core design is firmer than traditional foam rollers, delivering a deeper compression-like a sports massage on tight muscles, knots, and kinks to achieve comfortable, effective, and targeted muscle recovery
- BUILT FOR FREQUENT USE – Durable EVA-foam roller maintains its shape without breaking—even after repeated use—allowing you to use the same roll-intensive recovery patterns massage therapists use for highly effective recovery
A Quick 5-Minute Pre-Yoga Roller Routine
For most home practices, a short routine covering the six areas above is enough — no need for a long session. A simple order that flows well before stepping on the mat:
- Calves — 30 seconds per side.
- Hamstrings — 30 seconds per side.
- Quads — 30 seconds per side.
- Glutes and outer hips — 30 seconds per side.
- Upper back — 60 seconds of slow rolling, paused at tight spots.
- Lats — 20 seconds per side.
Total time: roughly five minutes. Done two or three times a week, this is enough to notice the difference in Downward Dog and forward folds without overdoing it.
Foam Roller vs Yoga Props: Different Jobs
A roller is not a substitute for yoga props — it does a different job. Blocks raise the floor toward you so you can hold poses with good alignment, as covered in our guide on how to use yoga blocks and the deeper stretches in yoga block stretches. A yoga wheel supports the spine through backbends. The roller, by contrast, works on the tissue itself before or after practice. Many home practitioners eventually own all three; if you only buy one and your goal is recovery and looser muscles, the roller wins. If your goal is better alignment in poses, start with blocks. For a broader look at how the roller compares to similar tools, see our yoga roller guide and the full yoga props roundup.
Where Not to Roll
- The lower back. Rolling directly on the lumbar spine forces the back muscles to brace and can aggravate discomfort. Roll glutes and upper back instead — the lower back usually eases when its neighbors do.
- Joints and bones — knees, elbows, shins, the spine itself.
- The neck. Too much pressure on too delicate an area.
- Acute injuries, bruises, or swollen areas. Pressure on inflamed tissue makes things worse, not better.
This article is general information, not medical advice. If you have a circulatory condition, osteoporosis, a recent injury, or are pregnant, check with a healthcare professional before starting foam rolling.
Both work, for different reasons. Before practice, brief rolling (30 to 60 seconds per area) increases short-term range of motion and makes tight areas easier to work with. After practice or hard exercise, slower and longer rolling can reduce next-day soreness. If you only do one, pre-practice rolling on your tightest areas gives the most noticeable payoff.
It should feel like strong, tolerable pressure — the kind you can breathe through — not sharp pain. If you are clenching, holding your breath, or bracing, the pressure is too high: use a softer roller, support more of your weight on the floor, or move to a less tender spot. Pain that lingers after rolling is a sign you overdid it.
Rolling directly on the lumbar spine is generally discouraged because the back muscles brace against the pressure and the spine has little protection there. Roll the glutes, hips, and upper back instead — lower-back tightness often eases when the surrounding areas release.
A 36-inch high-density smooth roller is the best first purchase: long enough to lie on lengthwise for upper-back work, firm enough to be effective, and stable for full-body use. Choose a 12-to-18-inch roller only if portability matters more than versatility.
Two to three short sessions a week is enough for most people: about five minutes covering the calves, hamstrings, quads, glutes, upper back, and lats. Daily rolling on the same area is not better and tends to irritate tissue. If a spot is still sore the next day, give it 24 hours before rolling it again.
Have a correction? Contact us.
Last update 2026-09-10. Price and product availability may change.
Recommended: