Mermaid Yoga Pose: A Step-by-Step Guide From Pigeon Pose

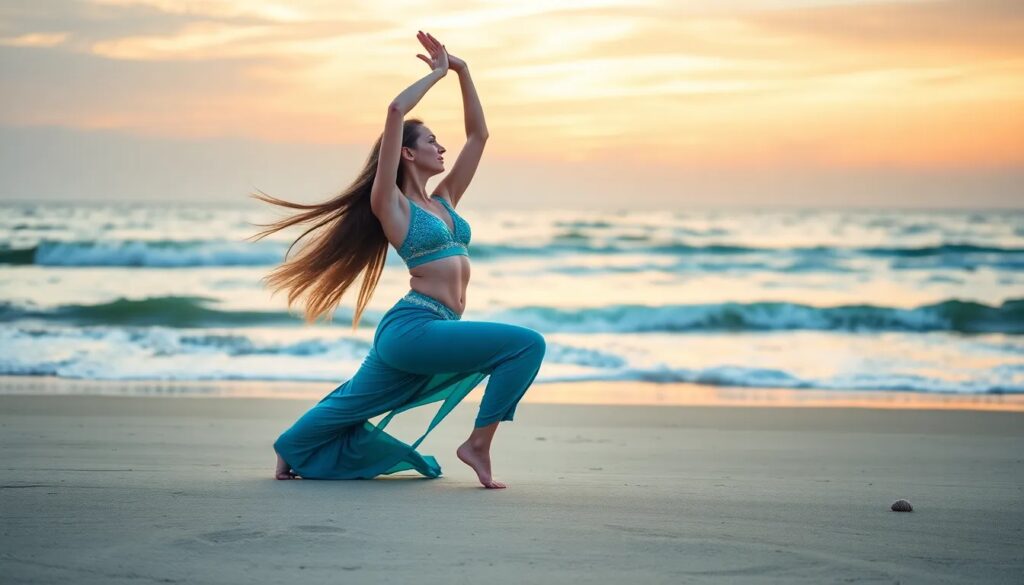
Mermaid yoga pose is an intermediate-to-advanced posture that combines a deep hip opener with a backbend and a shoulder stretch. It grows directly out of Pigeon Pose: from Pigeon, you bend the back knee, catch the back foot in the crook of your elbow, and reach the other arm overhead to clasp hands behind your head. The graceful final shape hides serious demands — open hip flexors, flexible quadriceps, mobile shoulders, and a spine prepared for backbending — so the sensible route into it is gradual, with props doing the work your flexibility cannot yet do.
What is Mermaid Pose?
Mermaid Pose (sometimes called Eka Pada Rajakapotasana variation, since it sits on the path toward One-Legged King Pigeon) stretches the hip flexors and quadriceps of the back leg, the outer hip of the front leg, the chest, and the shoulders, while strengthening the spinal extensors and demanding steady balance. In class sequencing it usually appears as a peak pose — the posture an entire class builds toward — after substantial hip and backbend preparation. If that concept is new to you, our explainer on what a peak pose is shows how teachers structure a class around postures like this one.
Benefits of Mermaid Pose
Because Mermaid Pose stacks several actions into one shape, its benefits come from the same elements already described above, combined:
- Hip flexor and quad opening in the back leg — the same stretch as a Pigeon quad hold, deepened by the elbow bind.
- Outer hip release in the front leg, carried over from the Pigeon foundation.
- Chest and shoulder opening from reaching one arm overhead and clasping the hands behind the head.
- Spinal extensor strength, built by lifting and rotating the chest through the backbend.
- Balance and body awareness, since staying square with both arms occupied behind you takes steady control.
Prerequisites: are you ready to try it?
You are reasonably prepared for Mermaid Pose if you can already do the following comfortably:
- Hold Pigeon Pose with the front hip near or on the floor (or a support) without knee pain — our complete Pigeon Pose guide covers the setup this pose depends on.
- Reach back and hold your back foot in a Pigeon quad stretch without tipping sideways.
- Do moderate backbends — Camel with hands on lower back, or Bridge — without pinching in the lower back.
- Clasp your hands behind your back and overhead (a strap counts) — the shoulder bind is often the limiting factor, not the hips.
How to do Mermaid Pose, step by step
- Set up Pigeon Pose with the right shin forward, left leg extended back, hips square. Place a folded blanket or block under the right hip if it does not reach the floor.
- Stabilize the base. Press the front shin down, engage the core lightly, and lengthen the spine upright. Stay here several breaths.
- Bend the back knee and reach back with the left hand to take the left foot, as in a Pigeon quad stretch.
- Slide the foot into the elbow crease. Rotate the left arm so the foot rests in the crook of the elbow, keeping the chest lifted rather than collapsing sideways.
- Reach the right arm up and back, bend the elbow, and clasp the left hand behind your head.
- Lift and rotate the chest forward, drawing the shoulder blades down. Keep the front hip heavy and the gaze forward or gently up.
- Hold 3–5 slow breaths, then release in reverse order with control. Repeat on the other side — expect the sides to feel very different.
Mermaid Pose vs. Pigeon Pose
Pigeon Pose is the foundation Mermaid builds on, and it is worth being precise about where one ends and the other begins. In Pigeon, the front hip stays square to the floor and the arms stay free — it is purely a hip opener, with no arm bind and no backbend. Mermaid Pose adds two more layers on top of that base: the back foot binds into the crook of the elbow, and the pose finishes in a backbend with the hands clasped behind the head. In practice, Pigeon is the prerequisite you need to hold comfortably before attempting Mermaid, and Mermaid is the deeper, more demanding expression of the same hip-opening shape. See our step-by-step Pigeon Pose guide if you are still building toward that base.
Common mistakes that cause strain
- Collapsing into the front knee. If the front hip hangs unsupported, torque lands in the knee — the most common Pigeon-family injury pattern. Support the hip; see the knee-safe setup in our step-by-step Pigeon guide.
- Cranking the backbend from the lower back. The bend should distribute through the upper and mid spine with the chest lifting; a sharp crease at the waist means back off.
- Twisting open instead of staying square. The temptation is to swing the torso sideways to reach the foot. Keep hips and chest oriented forward and use a strap instead.
- Skipping the warm-up. This is a cold-muscle injury waiting to happen — it belongs at the end of practice, never the beginning.
Modifications and variations by level
| Level | Variation | How it works |
|---|---|---|
| Preparation | Pigeon with quad stretch | Hold the back foot with the hand only; no elbow hook, no bind |
| Beginner-friendly | Strap version | Loop a strap around the back foot and walk the hands down it overhead — same shape, adjustable intensity |
| Intermediate | Classic Mermaid | Foot in elbow crease, hands clasped behind the head |
| Advanced | Toward King Pigeon | Both hands reach overhead to catch the foot directly — one of the famously difficult postures covered in our guide to the hardest yoga poses |
As an Amazon Associate, we earn from qualifying purchases.


How to prepare: a short sequence
Run this before attempting the full pose — 10 to 15 minutes is enough:
- Cat–Cow and Downward Dog to wake up the spine and hamstrings.
- Low Lunge with the back knee down, reaching the arms up — hip flexor opening.
- Low Lunge quad stretch, catching the back foot or using a strap.
- Pigeon Pose, 8–10 breaths per side.
- A moderate backbend — Bridge, Camel, or chest opening over a yoga wheel.

- Yoga Wheel Set of 3 + 1: The 4 sizes wheel provide different levels of pressure to the muscles targeted to your specific training needs. Our big wheels are 13 inches in diameter with gentle pressure and are excellent for deep posture and backbending. Our 10 "medium pressure rollers are perfect for stretching your back and hips, the smallest being 6" in diameter with deep tissue pressure, perfect for massaging the neck, back and legs.
- 10MM Thick Premium Padding: Made of high-density eco-friendly TPE. Our wheels feature the thickest foam padding available to provide a soft, comfortable surface to cushion your back, palms or feet. Surface technology can resist water and sweat, easy to clean, and have better anti-slip effect. The strong rigid core made of ABS can support up to 500 lbs for extra toughness.
- Widen Padding: Extra wide padding improves your balance when you doing Yoga posture. This yoga wheel is perfect for more difficult stretches, helping your neck, spine, shoulders and making your yoga moves deeper. Your body will be stretched smoothly, and you'll be surprised when you finally gain flexibility and comfort.
- Improve Posture & Reless Stress: Improve your yoga practice and relieve stress. These four rollers help you practice more challenging movements and postures with ease, safety, stretch and release muscle tension such as shoulders, chest, hips and back, and release back and shoulder pain. At the same time, improve the flexibility of yoga poses, muscles and spine.
- Customer Satisfaction as Goal: Our extra-cushioned foam roller helps distribute pressure on the spine, realigns the spine's natural curvature, restores the S-curve and promotes healthy posture. If you don't get what you want, please feel free to contact us.
- Shoulder opener: clasp hands behind the back, or hold a strap overhead and behind.
After Mermaid, counter the backbend with a gentle forward fold or Child's Pose and a soft twist.
Frequently asked questions
No — it is an intermediate-to-advanced posture. Beginners should build toward it through Pigeon Pose, low lunge quad stretches, and moderate backbends first. The strap variation makes the shape accessible earlier, but a comfortable, pain-free Pigeon is the sensible minimum starting point.
In Mermaid Pose the back foot rests in the crook of the elbow and the hands clasp behind the head. In full One-Legged King Pigeon, both hands reach overhead and grip the foot directly, which demands considerably more spinal extension and shoulder mobility. Mermaid is the standard stepping stone between Pigeon and King Pigeon.
Usually because the front hip is hanging unsupported, which transfers rotational force into the knee joint. Place a block or folded blanket under the front hip, keep the front foot flexed, and reduce the angle of the front shin. Sharp knee pain means come out of the pose — do not stretch through it.
It varies enormously with starting flexibility and practice frequency. Practitioners working on hips and backbends two to three times a week often reach the strap variation within a few months, while the full clasp can take a year or more. Shoulder mobility, not hip flexibility, is the slower limiter for many people.
Pigeon Pose is the hip-opening base, with the front hip square and no arm bind. Mermaid Pose builds on it by adding the back-foot-to-elbow bind and a backbend with the hands clasped behind the head. Pigeon is the prerequisite; Mermaid is the deeper expression of the same shape.
This article is general information, not medical advice. Mermaid Pose places significant demands on the hips, knees, lower back, and shoulders — if you have an existing injury in any of these areas, are pregnant, or experience sharp pain in the pose, stop and consult a qualified teacher or healthcare professional before continuing.
Have a correction? Contact us.
Last update 2026-09-10. Price and product availability may change.
Recommended: