Yoga Headstand (Sirsasana): How to Learn It Safely, Step by Step

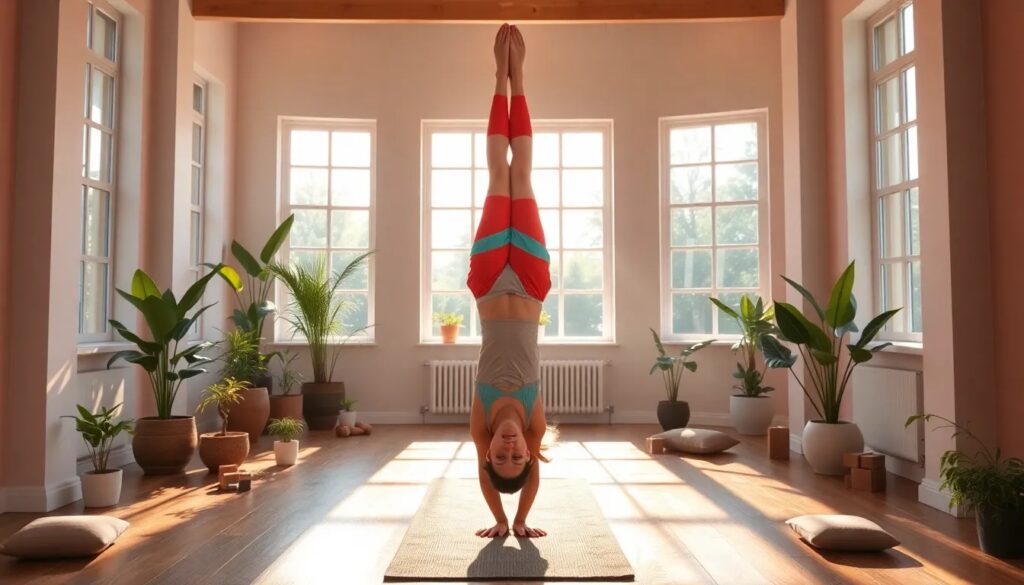
Sirsasana — the yoga headstand — is an inversion where the body balances vertically on the crown of the head and the forearms, with most of the weight carried by the arms and shoulders rather than the neck. It is learnable for most healthy practitioners, but only through a staged progression: build shoulder and core strength first, set up the base in Dolphin pose, train at a wall, and balance freely only when the preparatory stages feel controlled. This guide walks through that progression, the alignment details that protect your cervical spine, and the situations where a yoga headstand is the wrong pose entirely.
- Is headstand safe? The honest answer
- Prerequisites: what you need before your first attempt
- How to do a yoga headstand: the step-by-step progression
- Common headstand mistakes and how to fix them
- Variations once you are stable
- How long does it take to learn a yoga headstand?
- Who should not practice headstand
Is headstand safe? The honest answer
Headstand has a real injury profile — mostly neck strain and falls — and most problems trace back to two causes: loading the neck instead of the shoulders, and kicking up before the body is strong enough to control the position. Done with proper technique and progression, many practitioners include it safely for years. The pose is optional, though: nothing in a yoga headstand is essential to a complete practice, and gentler inversions such as Legs-Up-the-Wall or Downward Dog deliver many similar effects. Our overview of inversions in yoga covers the full spectrum from gentle to advanced.
Prerequisites: what you need before your first attempt
- Dolphin pose held 60 seconds without the shoulders collapsing toward the ears.
- Forearm plank held 60 seconds with a level pelvis — this is the core control that prevents banana-backing upside down.
- Comfort being inverted, built through Downward Dog and wide-legged forward folds.
- A clear wall and a firm surface. A thin mat on a hard floor beats a soft plush mat, which lets the head wobble.
If you can tick those boxes, you are ready to work on the entry. If not, those four items are your headstand practice for now.
How to do a yoga headstand: the step-by-step progression
- Build the base. Kneel facing a wall, interlace your fingers, and place forearms on the floor with elbows shoulder-width apart. The forearms and clasped hands form a tripod.
- Place the crown. Set the very top of the head lightly on the floor, with the back of the skull cradled against your clasped palms. You should feel firm pressure into the forearms, only light contact at the head.
- Lift the hips. Tuck the toes and straighten the legs into an inverted V — essentially Dolphin with the head down. Walk the feet toward your face until the hips stack over the shoulders.
- Draw one knee in. Pull one knee toward the chest, then the other, balancing in a tucked egg shape. Stay here for several sessions — this stage builds the real control.
- Extend the legs. Slowly straighten both legs toward the ceiling, pressing down through the forearms the whole time. No kicking, no momentum.
- Exit with control. Reverse the steps: bend the knees, lower into the tuck, and bring the feet down one at a time. Rest in Child's pose for several breaths before standing.
Expect the full journey from step 1 to a free-standing hold to take weeks or months of regular practice. That timeline is normal, not slow.
Common headstand mistakes and how to fix them
| Mistake | Why it matters | Fix |
|---|---|---|
| Weight dumped into the head and neck | Cervical spine compression | Press forearms down hard; the head should bear minimal weight |
| Elbows splaying wide | Base collapses, shoulders destabilize | Keep elbows shoulder-width; hug them in isometrically |
| Kicking up with momentum | Overshooting into a fall | Use the tuck entry; if you need to kick, you are not ready |
| Arching the lower back | Loss of balance, lower-back strain | Engage the core; ribs in, tailbone slightly tucked |
| Holding the breath | Raises pressure and tension | Breathe steadily; if you cannot, come down |
Variations once you are stable
After you can hold a clean supported headstand for 10 to 15 breaths, options open up: tripod headstand (palms flat, a different base used in transitions), leg variations such as splits or eagle legs, and lowering the legs halfway and lifting again as a strength drill. Treat each as a new pose with its own learning curve. Practiced consistently, a yoga headstand builds shoulder and core strength, trains balance and body awareness, and many practitioners find it focusing and energizing — but it is a demanding strength and balance pose, not a cure-all. If you want hands-on guidance for these stages, a dedicated inversion workshop with spotting is the fastest safe route. For context, our ranking of the hardest yoga poses and the broader list of hard yoga poses show where headstand variations sit on the difficulty spectrum.
How long does it take to learn a yoga headstand?
For most healthy practitioners training two to three times a week, expect one to six months from the first wall-supported attempt to a confident free-standing hold. The wall-supported tuck stage alone often takes several weeks of consistent work, and rushing past it is the most common cause of setbacks. Starting shoulder strength, comfort being inverted, and how often you practise matter more than age or flexibility. Two or three focused sessions a week beats one long one.
Who should not practice headstand
Skip headstand — or get explicit clearance from a healthcare professional first — if any of these apply:
- Neck injury, cervical disc problems, or osteoporosis
- Uncontrolled high blood pressure or heart conditions
- Glaucoma, retinal problems, or recent eye surgery
- Pregnancy, unless you practised headstand confidently beforehand and your provider approves
- Recent concussion or inner-ear (balance) disorders
None of these make you less of a practitioner. Strong foundational work — like the standing poses in our beginner poses guide — builds most of the same strength with none of the cervical load. If you have a condition not listed here and are unsure, ask your physician before adding a yoga headstand to your routine.
As an Amazon Associate, we earn from qualifying purchases.

- NEW ECO FRIENDLY MATERIAL: The upgraded Gruper Yoga mat is made with premium friendly material. It costs more to make, but it is safer and more soft than traditional non-green PVC and EVA yoga mats.The exercise mats are suitable for many forms of Yoga, Pilates and fitness.
- UPGRADED ANTI-SKID DESIGN AND DOUBLE LAYER ANTI TEAR: Special sticky non slip texture on both sides , more Hard-wearing than regular yoga mats and resistant to tearing and deformation. Double layer structure coupled with a non-slip textured surface provides optimal grip without sacrificing comfort.
- TWO DIFFERENT SIZE OTPTIONAL : ①☛ Standard Size:72"(183cm) x 24" (61cm); Thickness: 0.24"(6mm); Weight: 2.6lb. ②☛ Thickened Size:72"(183cm) x 24" (61cm); Thickness: 0.32"(8mm); Weight: 3.1lb.
- CARE INSTRUCTIONS: 1.Clean with damp cloth (cold water) or mild detergent, dry flat. 2.Do not use a washing machine or dryer or exposed to the sun for extended periods of time. 3.Designed for barefoot exercise. Your shoes or your pets' paws may tear the mat.
- FREE CARRY STRAP & STORAGE BAG - No need to go buy a yoga carrying strap and bag. Easy to carry your yoga mat around with.you can carry to the gym or anywhere you want

Most practitioners who train two to three times a week need anywhere from one to six months, depending on starting shoulder strength and comfort with being inverted. The wall-supported tuck stage alone often takes several weeks, and rushing past it is the most common cause of setbacks.
Yes, but only lightly. In the supported headstand the crown rests on the floor while the forearms carry most of the weight. If you feel strong pressure or any pain in the neck, the load distribution is wrong and you should come down and rebuild the base.
Handstand is generally harder to balance because the base is two hands instead of a head-and-forearms tripod, but headstand carries more neck risk when done badly. Many teachers consider headstand easier to hold and handstand safer to fall from, which is why both deserve a careful progression.
Start with 3 to 5 breaths and build gradually toward 10 to 15 breaths, or roughly one minute. Longer holds add little for most practitioners and increase the chance of form breaking down. Quality of alignment matters far more than duration.
A yoga headstand builds shoulder, arm, and core strength, trains balance and body awareness, and many practitioners find it focusing and energizing. Claims about reversing aging or curing illness are not supported by evidence, so it is best treated as a demanding strength and balance pose rather than a cure-all.
This article is general information, not medical advice. A yoga headstand places load near the cervical spine and is contraindicated for several conditions listed above — if you have neck problems, blood pressure or eye conditions, or are pregnant, consult a qualified healthcare professional before attempting it.
Have a correction? Contact us.
Last update 2026-09-10. Price and product availability may change.
Recommended: