Hem Yoga Pants Without Popping Seams: 3 Easy Methods

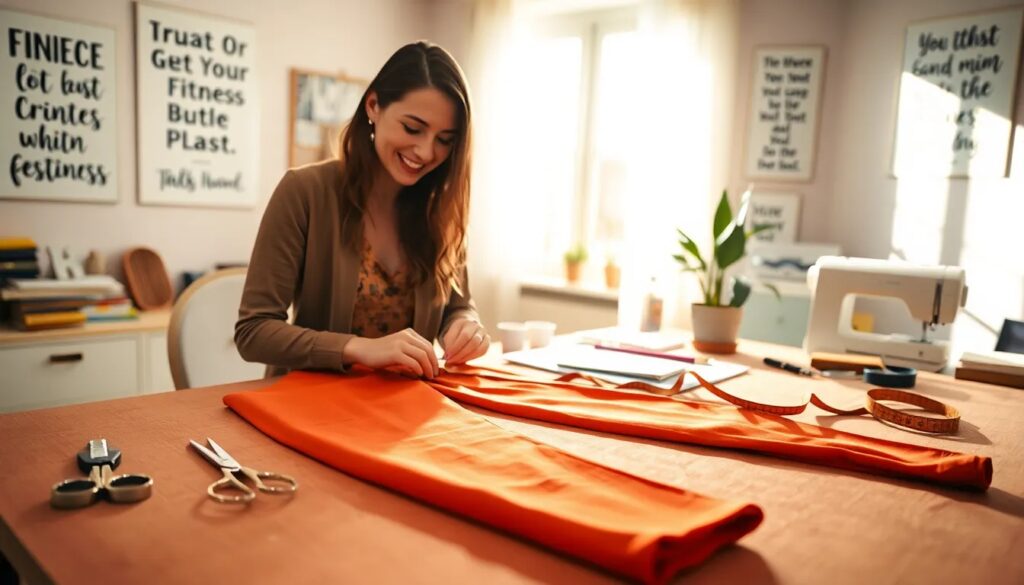
To fix yoga pants that are too long, you need one thing above all: a stitch (or adhesive) that stretches with the fabric. Yoga pants are knit fabric with elastane, so a standard straight stitch will pop the first time you lunge. The three methods that work are a zigzag or twin-needle stitch on a sewing machine, a hand-sewn stretch stitch, and no-sew fusible hem tape to hem yoga pants without sewing at all. All three are below, step by step, plus how to measure so you only cut once. See more yoga equipment guides for gear and care beyond hemming.
Which hemming method should you use?
| Method | Time | Durability | Skill needed | Best for |
|---|---|---|---|---|
| Machine: twin needle | ~30 min | Excellent — looks factory-made | Intermediate | Pants you wear constantly |
| Machine: zigzag stitch | ~30 min | Very good | Beginner with a machine | Any stretch garment |
| Hand sewing (zigzag or herringbone) | 1–2 h | Good | Beginner, patience required | No machine available |
| Fusible hem tape (no-sew) | ~15 min | Moderate — may need re-pressing after many washes | None | Quick fixes, sewing-phobic |
Step 1: measure and mark (every method starts here)
- Put the pants on with the shoes (or bare feet) you usually practice in, and fold the excess under to the length you want. Yoga pants are usually best ending at or just above the ankle bone so they do not slide under your heels. For a quick fix without cutting, pin a temporary fold or simply scrunch the extra length at the ankle.
- Pin or chalk-mark the new length on both legs while wearing them — legs of a garment are rarely identical once on a body.
- Take them off and lay them flat. Measure and even out the marks with a ruler so both legs match.
- Add 2–2.5 cm (about 1 inch) of hem allowance below your mark before cutting.
- Cut with sharp scissors or a rotary cutter. Knit fabric does not fray badly, so no finishing of the raw edge is strictly required.
- Fold the allowance to the inside and press with an iron on low (synthetics melt — test on the cut-off scrap first). Pin or clip in place.
Method 1: sewing machine (zigzag or twin needle)
- Fit a ballpoint or stretch needle. Standard needles pierce and damage knit fibers; this swap matters more than any other setting.
- Use polyester thread in a matching color — it has slight give, unlike cotton thread.
- Choose your stitch: a medium zigzag (around 2.5 mm wide, 2.5–3 mm long), a lightning/stretch stitch if your machine has one, or a twin needle for two parallel rows that look exactly like the original coverstitch hem.
- Test on the cut-off scrap and adjust tension until the seam stretches without popping and the fabric does not tunnel between twin-needle rows (lowering the bobbin tension slightly helps).
- Sew around the leg close to the raw edge of the folded allowance, stretching the fabric only as much as it naturally wants to move. Do not yank it through.
- Overlap the stitching a couple of centimeters where you finish, and trim threads. Press lightly.
Method 2: hand sewing
- Thread a needle with doubled polyester thread and knot the end.
- Starting inside the leg, sew a small zigzag or herringbone stitch around the folded hem, catching only a thread or two of the outer fabric per stitch so the hem stays nearly invisible from outside — this is how to hem knit pants by hand, yoga pants or leggings alike.
- Keep the stitches loose enough to stretch. Every few stitches, gently pull the hem to confirm it still gives.
- Finish with two or three small locking stitches and bury the thread tail inside the hem.
Method 3: no-sew fusible hem tape
- Buy double-sided fusible web tape rated for stretch fabrics (sold under names like Steam-A-Seam and similar).
- Place the tape inside the pressed fold, between hem allowance and pant leg.
- Press — do not iron back and forth — with the iron at the temperature the tape instructions specify, using a pressing cloth to protect the synthetic fabric.
- Let it cool completely before moving; the bond sets as it cools.
Honest caveat: fusible tape on high-stretch, frequently washed activewear is the least durable option. It is perfect for a quick fix or a trial length before sewing permanently, but expect to re-press or re-do it after a season of heavy use — the same trade-off applies to hemming leggings with or without a machine. Washing them right afterward helps the hem last.
As an Amazon Associate, we earn from qualifying purchases.


Common mistakes to avoid
- Straight stitch on stretch fabric — the classic error; it pops at the first deep squat.
- Cutting before trying them on. Measure worn, cut flat.
- Hot iron directly on synthetics — polyester and elastane scorch and go shiny. Always use a low setting and a pressing cloth.
- Skipping the test scrap. The cut-off length is a free tension tester — use it.
- Hemming flared pants like straight ones. On a flare, keep the original hem shape by measuring up evenly from the existing hemline rather than straight across.
- Treating leggings differently from yoga pants. They hem the same way, and shortening leggings that are too long follows the same three methods above — see how the two compare in our yoga pants vs. leggings guide.
Hemming flared or bootcut yoga pants
A flare or bootcut leg is not a straight column of fabric, so chopping a flat line across the bottom ruins the shape. Instead, measure up evenly from the existing hemline at several points around the leg and mark before you cut — that keeps the flare instead of turning it into a narrower straight leg. All three methods above still apply once the new line is marked. For more on the style itself, see our guide to flare yoga pants.
When hemming is worth it (and when it is not)
Hemming makes sense for quality pants that fit everywhere except length — a 30-minute job extends their life for years, and the same technique works on the legs of a yoga bodysuit or unitard. It is not worth it for cheap leggings already losing elasticity, and note that many leggings can simply be worn scrunched at the ankle. A tailor commonly charges about 10 to 25 US dollars, so DIY mainly pays off on pants you wear often. If the real problem is that your pants are wrong for your practice — too warm, too slippery, riding down in Downward Dog — the fix is different gear, not a hem: our guide to what to wear for hot yoga covers how to choose fabrics that behave. If everything else fits well, it can be simpler to just buy the right length:
| # | Preview | Product | Rating | Price | |
|---|---|---|---|---|---|
| 1 |  | FOHOFO Yoga Pants Women, Flare Leggings for Women with Pockets Crossover High Waisted Bootcut Yoga... | $9.97 | Buy on Amazon |
Yes, with double-sided fusible hem tape rated for stretch fabrics. Fold the new hem, place the tape inside the fold, and press with an iron per the tape instructions. It is the fastest method but the least durable on frequently washed activewear, so expect to re-press it eventually.
Use a zigzag stitch, a lightning stretch stitch, or a twin needle on a sewing machine, always with a ballpoint or stretch needle and polyester thread. A standard straight stitch will break because it cannot stretch with the knit fabric.
Barely. Most yoga pants are knit fabric with elastane, which does not fray like woven fabric, although cut edges can curl. You can technically wear them cut and unhemmed, but a sewn or fused hem looks better and stops the curling.
Tailors commonly charge roughly 10 to 25 US dollars for hemming knit pants, depending on location and whether a coverstitch finish is requested. Doing it yourself costs only thread or tape, so professional hemming makes most sense for expensive pants or flared styles.
Not exactly. On a flare or bootcut leg, measure up evenly from the existing hemline at several points around the leg instead of cutting a straight line, so the flared shape is preserved. Once the new hemline is marked, the same sewing machine, hand-sewing, or fusible tape methods apply.
Have a correction? Contact us.
Last update 2026-09-10. Price and product availability may change.
Recommended: